Work at North Road – Autumn 2017

(click on any of the images to enlarge them)

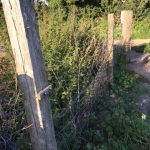
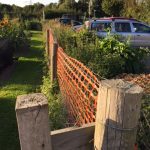
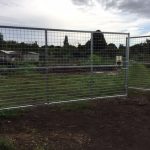
Members of our North Road site will be well aware of the work that has  gone on recently to replace the dilapidated gate and fence that formed the boundary of the site with the parking area. The nature of the access road, sloping down towards the allotments, also meant that the first plot next to the parking area was susceptible to flooding, making part of it unworkable.

The main contractors for the work were M&J Oakley Ltd who were used previously to install the new boundary fence at the Clothall Road site and the bulk of the work was carried out over about a week at the beginning of September. Half of the cost of the work was funded by grants from local authorities and councillors as well as BALGA fundraising. The remainder has been paid from the plot rental income we have received after 18 months of self management.

The steel gate, which is approx. 2m high, allows separate vehicle and pedestrian access, while the fence, which is 2m high, also includes rabbit proofing along its base.

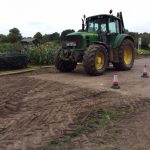
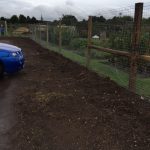
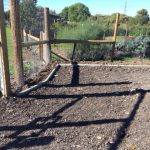
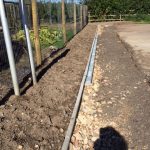
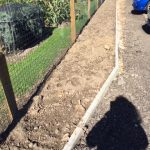
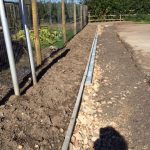
Once the fencing and gate were finished, a kerb was installed which increased the width of the parking area by a metre. This will also help prevent the flooding to plot no.2 adjacent to the parking area. Drains against the kerb edge were added and these lead to a newly excavated soakaway.

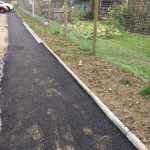
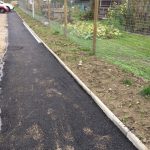
It was decided and agreed unanimously by the General Committee that rather than leave the corner of ground near the gate as it was, it would be better to continue the kerbing into this corner and then to extend the tarmac along the kerb and up to the gate, and to get this additional work done at the same time. This extra area of tarmac has meant we have been able to add an additional two parking spaces to the parking area as well.

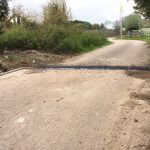
A speed hump was also installed a short way up the access road to slow traffic as it approaches the corner by the parking area. The speed hump and tarmac work were carried out by FT Gearing Landscape Services Ltd.

The now thin strip of ground along the front of the parking area will be grassed and planted up with bulbs by a working party. A couple of paving slabs will also be added so people can actually get to the notice board at the site! And the extra bonus of having a high boundary fence is we can now display banners for open days or plot availability, something which wasn’t possible before.

I think you will all agree the entrance to the site looks so much better now and is a example of how self management enables us to improve our sites by reinvesting money raised through plot rents, rather than see it absorbed into Council funds.

Joanna
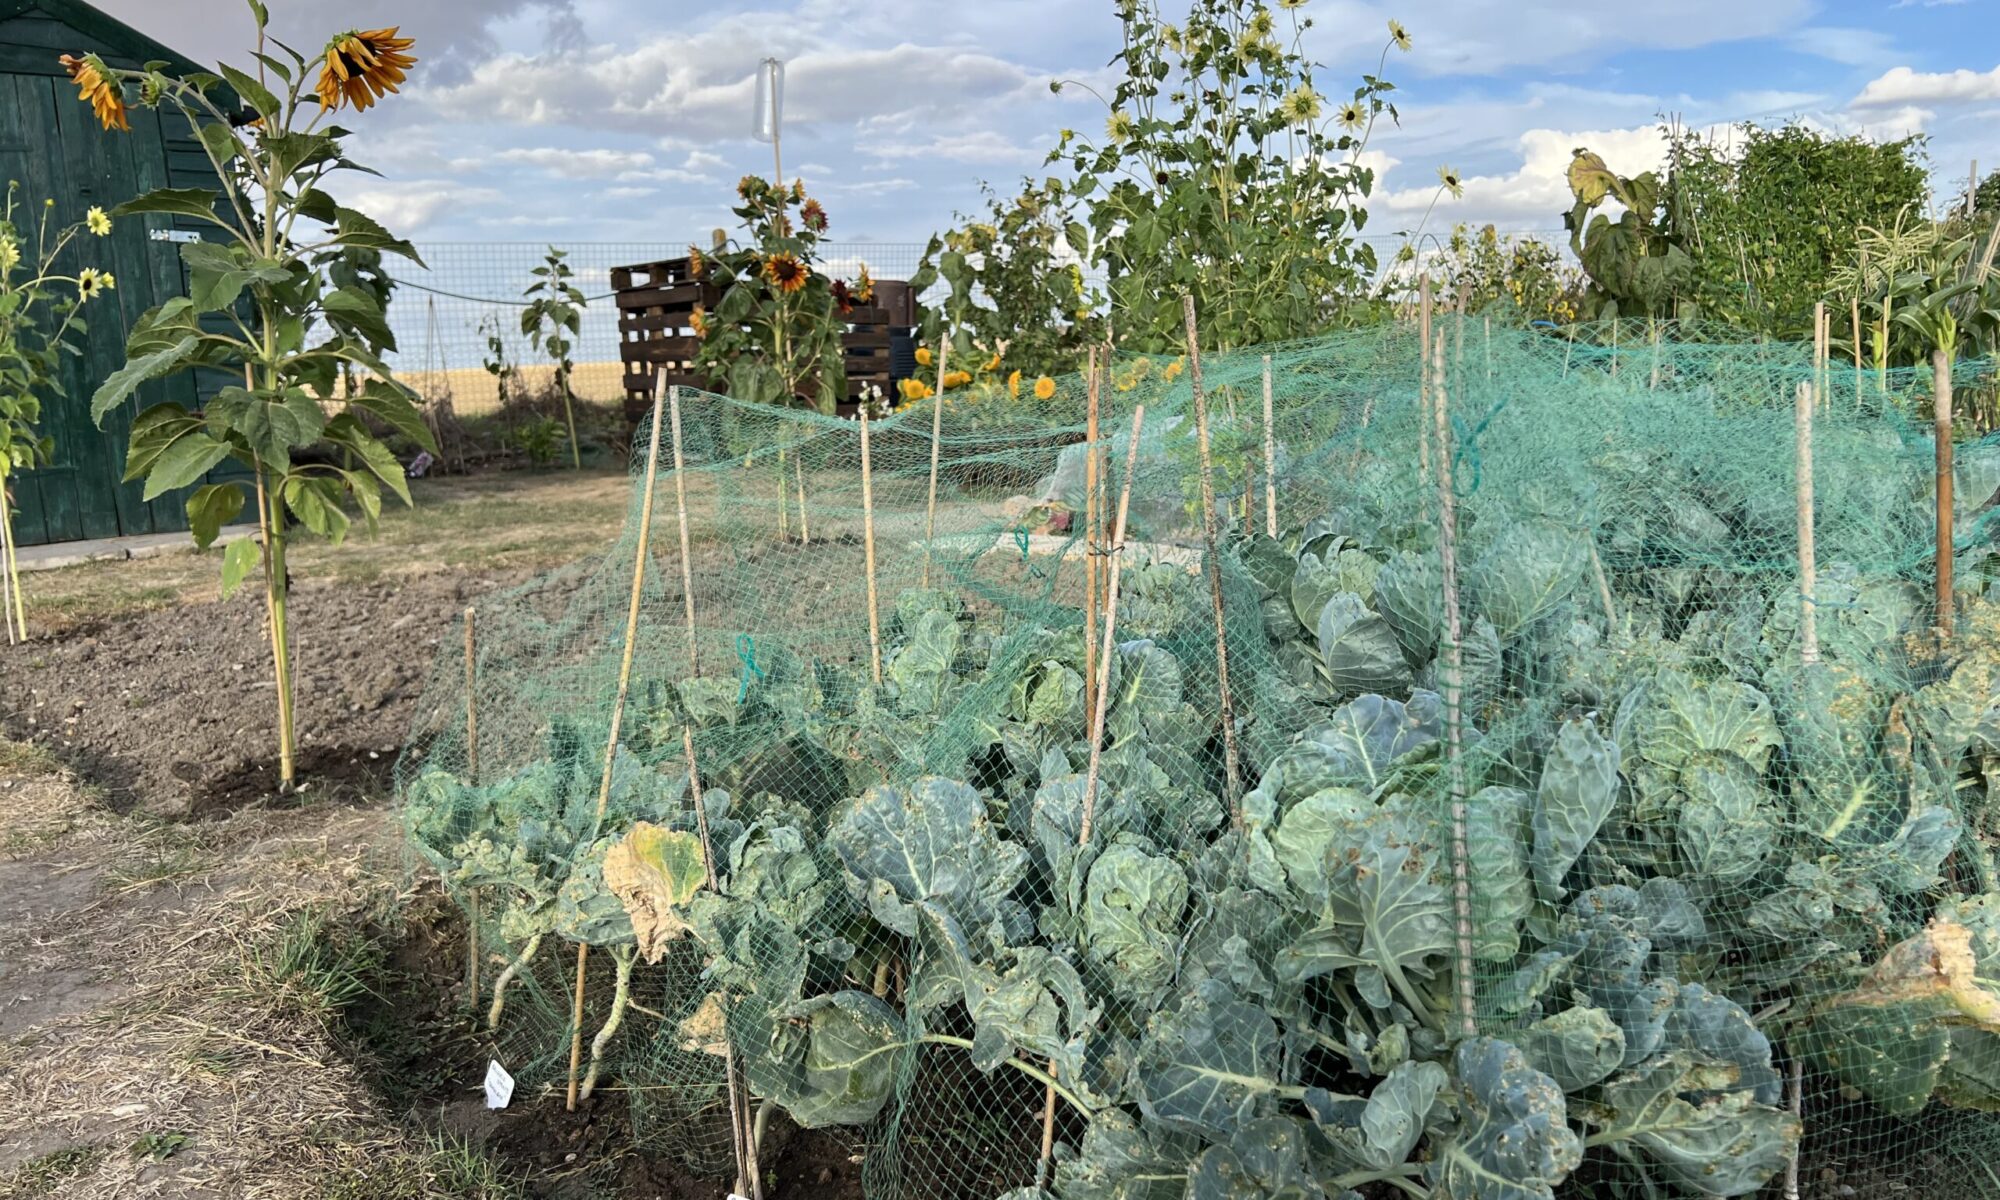
Starting from Scratch – Onwards and Upwards!

So, it’s been a few months since we last caught up with Yvonne and Steve on their new plot. When we last met them, they had just acquired a shed on FreeCycle.

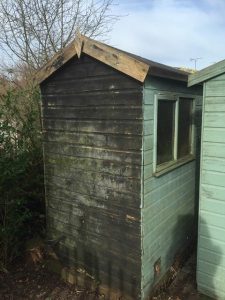
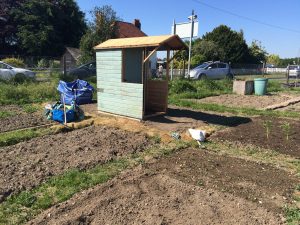
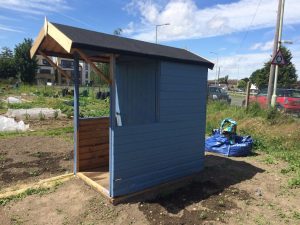
The shed was a 8ft x 6ft shed which Steve chopped down to make it 3ft x 4ft with a veranda! Steve and Yvonne assembled the shed in their garden before transporting it to their plot on a roof rack.

New felt on the roof and a lick of paint and it was good to go!

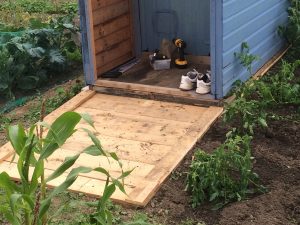
A recent addition has been a decking area at the front made from a free pallet.

In the meantime, their plot has continued to fill up with crops.

And they have enjoyed a good harvest

And now as autumn approaches, it all starts again with clearing ground and planting autumn onion sets and garlic.
Yvonne and Steve have done amazingly well in such a short space of time on their plot. Long may it continue!

Best Kept Allotment Competition 2017

The short-listed plots were judged by an independent judge a couple of weeks ago. The judge commented how high the standard was this year, so well done to all those short-listed.

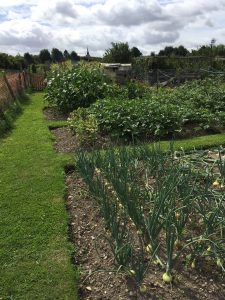
The plot gaining the most points at the North Road is tenanted by Gordon Petitt. Gordon has had his full plot for 14 years and I loved the structure and order of his plot.

Gordon Petitt at North Road
Gordon’s plot

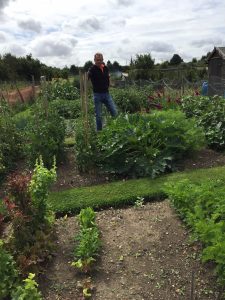
The plot gaining the most points on the  Clothall Road site was Chris Vincent who has only had his half plot for four years. I was amazed at how much he had managed to cram in on his plot with numerous varieties of various crops, including onions grown from seed.

Chris Vincent at Clothall Road
Chris’ packed plot
Wonderful beanpoles coppiced from nearby woods

Both Gordon and Chris will receive a voucher for £25 to be spent in the members’ shop.

Of these two plots, Chris’s plot scored the most points and he will be awarded the Basil Bryant Cup at the AGM in January 2018.

Each year a separate competition is run to judge the Best Newcomer, with tenants taking on their plots after 1 May 2016 being eligible for the award this year. Paula Lancaster scored the most points for her half plot which she took on in February earlier this year. I was amazed to see not only was her plot fully cultivated, but it was full of crops too.

Paula Lancaster at Clothall Road
Paula’s plot

An excellent job Paula! Paula will be awarded the Frank Conway Cup at the AGM next year.

Congratulations to all our winners!

What to do with a Courgette Glut….

We’ve all been there; you reach the point where you just can’t give your excess courgettes away. You’ve given some to everyone you know at work and to members of your family, so what to do now?

A recent blog post by Matt Peskett at Grow Like Grandad is a really useful one to bookmark as not only does it include a big long list of recipes using courgettes (separated by type), but Matt has also indicated how many courgettes are needed for each recipe which saves a lot of toing and froing trying to find a recipe which uses the amount or number of courgettes that you are trying to use up!
You can read the post here.

In the meantime, here’s a simple rustic recipe from BALGA member, Jon Jones.

Courgettes with baby tomatoes

Ingredients

2 or 4 small courgettes or 1 large courgette
15ml thick olive oil
French tarragon, whole basil leaves or fresh oregano
Baby tomatoes

Method

If using a large courgette, slice into 1cm (half inch) slices.

Heat oil in a frying pan and fry smaller courgettes whole like sausages, turning until they are evenly brown.
Or fry slices from large courgette.

5 minutes prior to courgettes being full cooked, add the baby tomatoes together with your chosen herb. Season with fresh ground pepper to taste.

Continue cooking until the tomatoes are on the verge of collapsing.

Serve immediately, or dish can be allowed to cool and eaten cold.


What’s in Season – Courgettes

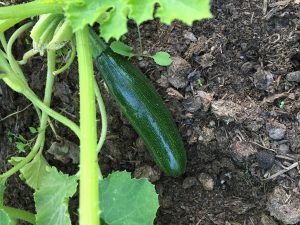
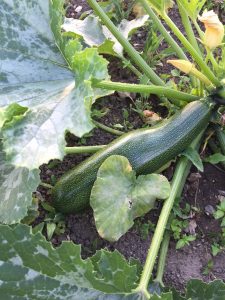
Ah….courgettes! One of the vegetables most allotment folk grow and look forward to harvesting……until the glut kicks in!

As a veg grower, it is always best to sow at least a few seeds when growing a crop but courgette seeds are usually good germinators. Sow them individually in small pots for best results. However, whilst you may have sown half a dozen seeds which become seedlings and then healthy plants, once you’ve planted them out the realisation hits you that you may just have grown a few too many plants. Once they start cropping, the courgettes keep coming! And whoa betide the allotment tenant who misses a few and finds they have now grown a couple of marrows!

Marrow….incoming!

Joking aside though, courgettes are actually quite a versatile crop. Google ‘courgettes recipes’ and you are inundated with a wide variety of suggestions from cakes, gratins and currently en vogue, spiralizing them!

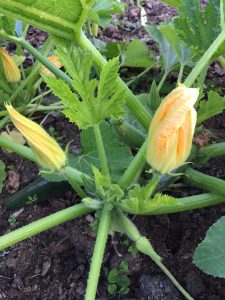
And talking of versatility, don’t forget courgette flowers are also edible and quite a delicacy; deep fried in batter being a popular recipe. Pick them just as they are opening.

Courgette flowers

Once established, the plants throw up both male and female flowers with the female flowers being easily recognisable because they have a small fruit behind them. The plants can take up a lot of space and need a lot of watering in hot weather but regular watering will ensure better quality fruit. Pick the fruit when they are young and thin, perhaps around 5″ long and always cut them from the plant with a knife; twisting and pulling them off will damage the plant.

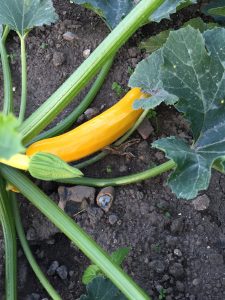
One of the best things about growing courgettes, is the varieties available including yellow ones. There are quite a few heritage varieties out there too.

My only courgette regret this year……not growing any. I actually feel a bit left out that I’m not suffering from a courgette glut!

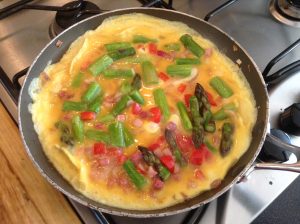
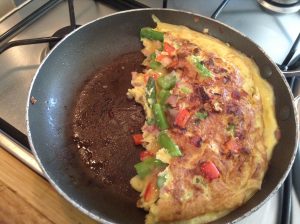
Asparagus Omelette

If, like me, you have asparagus on the plot, you may be getting fed up with boiled asparagus with melted butter as a starter. I can enjoy it every other day, but every day is too much! I researched asparagus recipes on the web and found several for asparagus omelette. I adjusted one to what was available, and it was delicious!
Phil Charsley

Ingredients (for 2 people)

6 thick asparagus spears or equivalent
about 3oz (80 grams) bacon bits
1/4 red pepper (optional)
4 eggs
salt and pepper to taste
1 tsp olive oil or small knob butter
small quantity milk (optional)

Method

Hold ends of asparagus spears in each hand and bend until they break. Discard hard ends (or use to make soup!) Cut asparagus into half inch lengths.

Slice and dice pepper.

Break eggs into a bowl and whisk to omelette consistency. Add a little milk if you prefer.

Put oil or butter in frying pan, heat and add bacon bits. Fry on medium heat until brown.

Add diced pepper and asparagus and fry for 4 to 5 minutes.

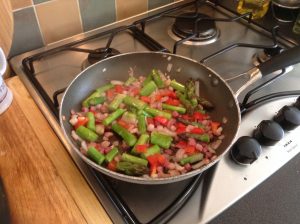
Fry bacon, peppers and asparagus

Pour in beaten eggs. Cook on a medium heat until surface is almost set

Add eggs

Fold over, and cook for a further minute.

Tasty!

Serve and enjoy!

Starting from Scratch – A Year in the Life of a New Plot

In this series of articles we follow Yvonne and Steve during their first year as allotmenteers showing you what can be achieved with a bit of effort and hard graft.

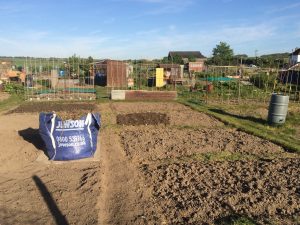
New tenants, Yvonne and Steve took on their plot in mid April 2017. They had no previous allotment experience other than going to their father’s allotment with him when little. They chose a half plot on the Clothall Road site. The plot hadn’t been worked for many years, although a recent tenant had dug out outlines of beds.

The new plot!

The plot had been strimmed in readiness for letting by site rep, Martin Luker, but some weeds still remained.

Keen to get started, they made good progress very quickly and had dug over several beds within a couple of weeks.

First four beds dug

A quick visit to the members’ shop and they were able to plant seed potatoes and onion sets and start some seeds off at home.

A week or so later and more beds were dug and a base laid for the shed, both of which were picked up for free after searching online.

Within a month, amazingly they had dug over the whole plot.

Initial digging over complete!

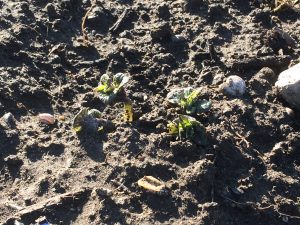
And were excited to see the first signs of growth as their seed potatoes made an appearance.

First signs of life

Yvonne and Steve have worked really hard over the month to get the initial digging completed. They have also followed sage advice and planted a little too so they can see signs of growth; a reward for all their hard work.

In the next instalment we’ll see what plans Steve has for the shed!

Excess Seedlings

One of the worst faults of a gardener is sowing too many seeds and then not being able to throw any surplus seedlings away. We just can’t bring ourselves to do it, can we?

Well worry not! If members have an excess seedlings they’ve grown, they can now bring them down to the Members’ Shop before it opens on a Sunday where they can be sold to raise funds for the association.
Or maybe some of your seedlings have failed this year and you are looking to plug the gap at a good price?
Don’t forget the shop is open every Sunday from 10am to 12 noon until the end of November.

On a similar note, if it’s plants you are after, the Baldock Horti Soc have a stall at the Baldock Street Fair this coming Saturday where they are selling plants to raise funds; there may be even some veg plants available!

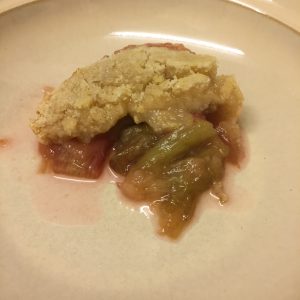
Rhubarb and Vanilla Crumble

This is a recipe I’ve been tweaking ever since I pulled my first rhubarb stalks a few weeks ago. I’ve previously made rhubarb and vanilla jam, which was wonderfully mellow to taste and I was hoping to recreate the flavour in a crumble.

Rhubarb & vanilla crumble

If you have a go, let me know if the sweetness needs amending. Mine was a bit tart still, although the flavours were much more mellow the following day.
Joanna Kent
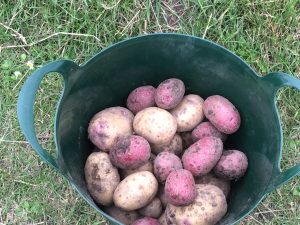
Ingredients

1lb Rhubarb
4oz Caster sugar
1 Vanilla pod
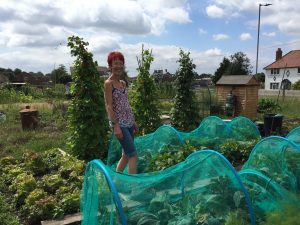
For the crumble
4oz Plain flour
2oz Butter or margarine
3oz Caster sugar

Method

  1. Preheat oven to 190 deg C (375deg F / gas mark 5)
  2. Wash rhubarb stalks and cut into 1″ pieces. Place rhubarb chunks into an ovenproof dish and cover with the caster sugar.
  3. Cut vanilla pod in half and scrap out the seeds and place in the dish together with the halved vanilla pod.
  4. Stir the contents to ensure all the rhubarb pieces are covered in sugar.
  5. Cover dish with foil. Place in the oven and roast rhubarb for approx. 20 – 30 mins until rhubarb is soft. Remove vanilla pod from dish.
  6. Sieve flour into a bowl and rub in butter or margarine until mixture resembles breadcrumbs. Stir in caster sugar.
  7. Pour crumble mix over the roasted fruit.
  8. Cook in oven for approx. 30 mins until crumble top is golden.
  9. Enjoy with custard, cream or ice cream.


To Chit or Not to Chit?

Traditionally, seed potatoes are always chitted before being planted out but more recently, growers have queried whether this is necessary.

Seed potatoes chitting on a window sill

Chitting encourages the eyes on seed potatoes to start sprouting, thus giving them a head start for when they are planted out. Placing the tubers in a frost free place with plenty of light such as a window sill will cause the eyes to start sprouting. Each tuber has a more rounded, blunt end where most of the eyes are to be found. Place your tubers upright in a seed tray, or even an egg box, and wait for nature to work its magic. Within a matter of weeks, you can see the eyes sprouting. Once the tuber has two or three good-sized chits about ½” long, it can be planted out providing the ground is frost-free. Rub off any extra chits so that the growth is concentrated on those chits. If there is a danger of frost, ensure any growth is earthed up and covered to protect it. 

Healthy growth on a Rocket seed potato

First early potatoes particularly benefit from being chitted so they can be lifted within 10 to 12 weeks of being planted out, usually in June or July. There is some argument as to whether main crop seed potatoes benefit as they have a longer growing season. Potatoes will sprout and grow whether they are chitted or not. There is a theory though that chitting seed potatoes will increase the yield from each tuber by directing the plant’s energy into two or three shoots. Equally important, however, is preparation of the ground by adding plenty of well rotted manure, blood fish and bone or even chicken pellets.

 For most vegetable gardeners, it’s that eagerness to get the growing season started, that means they will chit their seed potatoes.