The No-Dig Diary Jan/Feb 2018

BALGA tenant, Annie, updates us on her progress with experimenting with going no-dig. This month….paths!

‘Of course, no-dig doesn’t mean no work! The digging is delegated. You may do this already of course – you may have a co-worker or partner who loves the exercise! However you can still gain benefits from no-dig and find these heroes other important jobs on your plot.

With no-dig, the digging is done by the worms. Hopefully you have plenty, but you will certainly get a big influx with the arrival of all that lovely compost. The worms will draw the organic material into the soil and aerate it at the same time. As the soil is not being continually hefted around, an environment is gradually created that allows beneficial insects, microbes and fungi to thrive and prosper. As this happens, it gives the perfect soil structure for your fruit and veg.

However, there is still work to be done….plenty of compost to produce and distribute, but we don’t want to compact the ground so some paths would be useful.

There are several options for paths.
1. Grass paths. These look nice if well maintained. A grass path is fairly permanent though so perhaps other more temporary solutions would be useful to give flexibility year by year.
2. Walk on top of the compost.

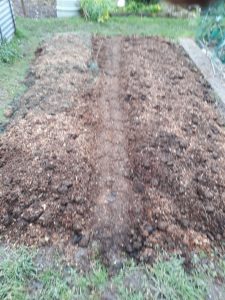
Compost
Trodden path

The mulch underneath should stop weeds and the compost layer should not get muddy for a long time – not until the mulch has been broken down by the worms. This should take much longer than on the beds since you are walking on it and compacting it more than the beds.
3. Woodchip path. If you have a source of woodchip this is great. It shouldn’t get muddy and when you want a change, the woodchip will just rot down and add organic matter to your soil.
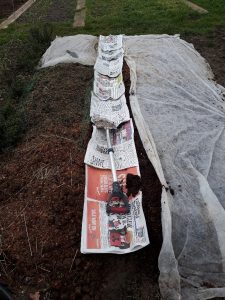
Clear ground for woodchip
Lay newspaper layer for woodchip path
Woodchip path

4. Gravel. The weed-proof layer here is black plastic (old compost bags work well!). Clear the ground,  lay the plastic with a few drainage holes to prevent pools of water developing, cover with a layer of gravel. Cost of gravel may be an issue but it is re-usable when you want to take the path up and re-lay it elsewhere.
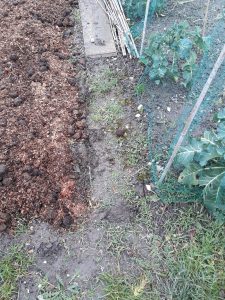
Before gravel
Gravel path

You will notice that the emphasis throughout is to try to stop the weeds growing thus saving time on weeding. We shall see!’
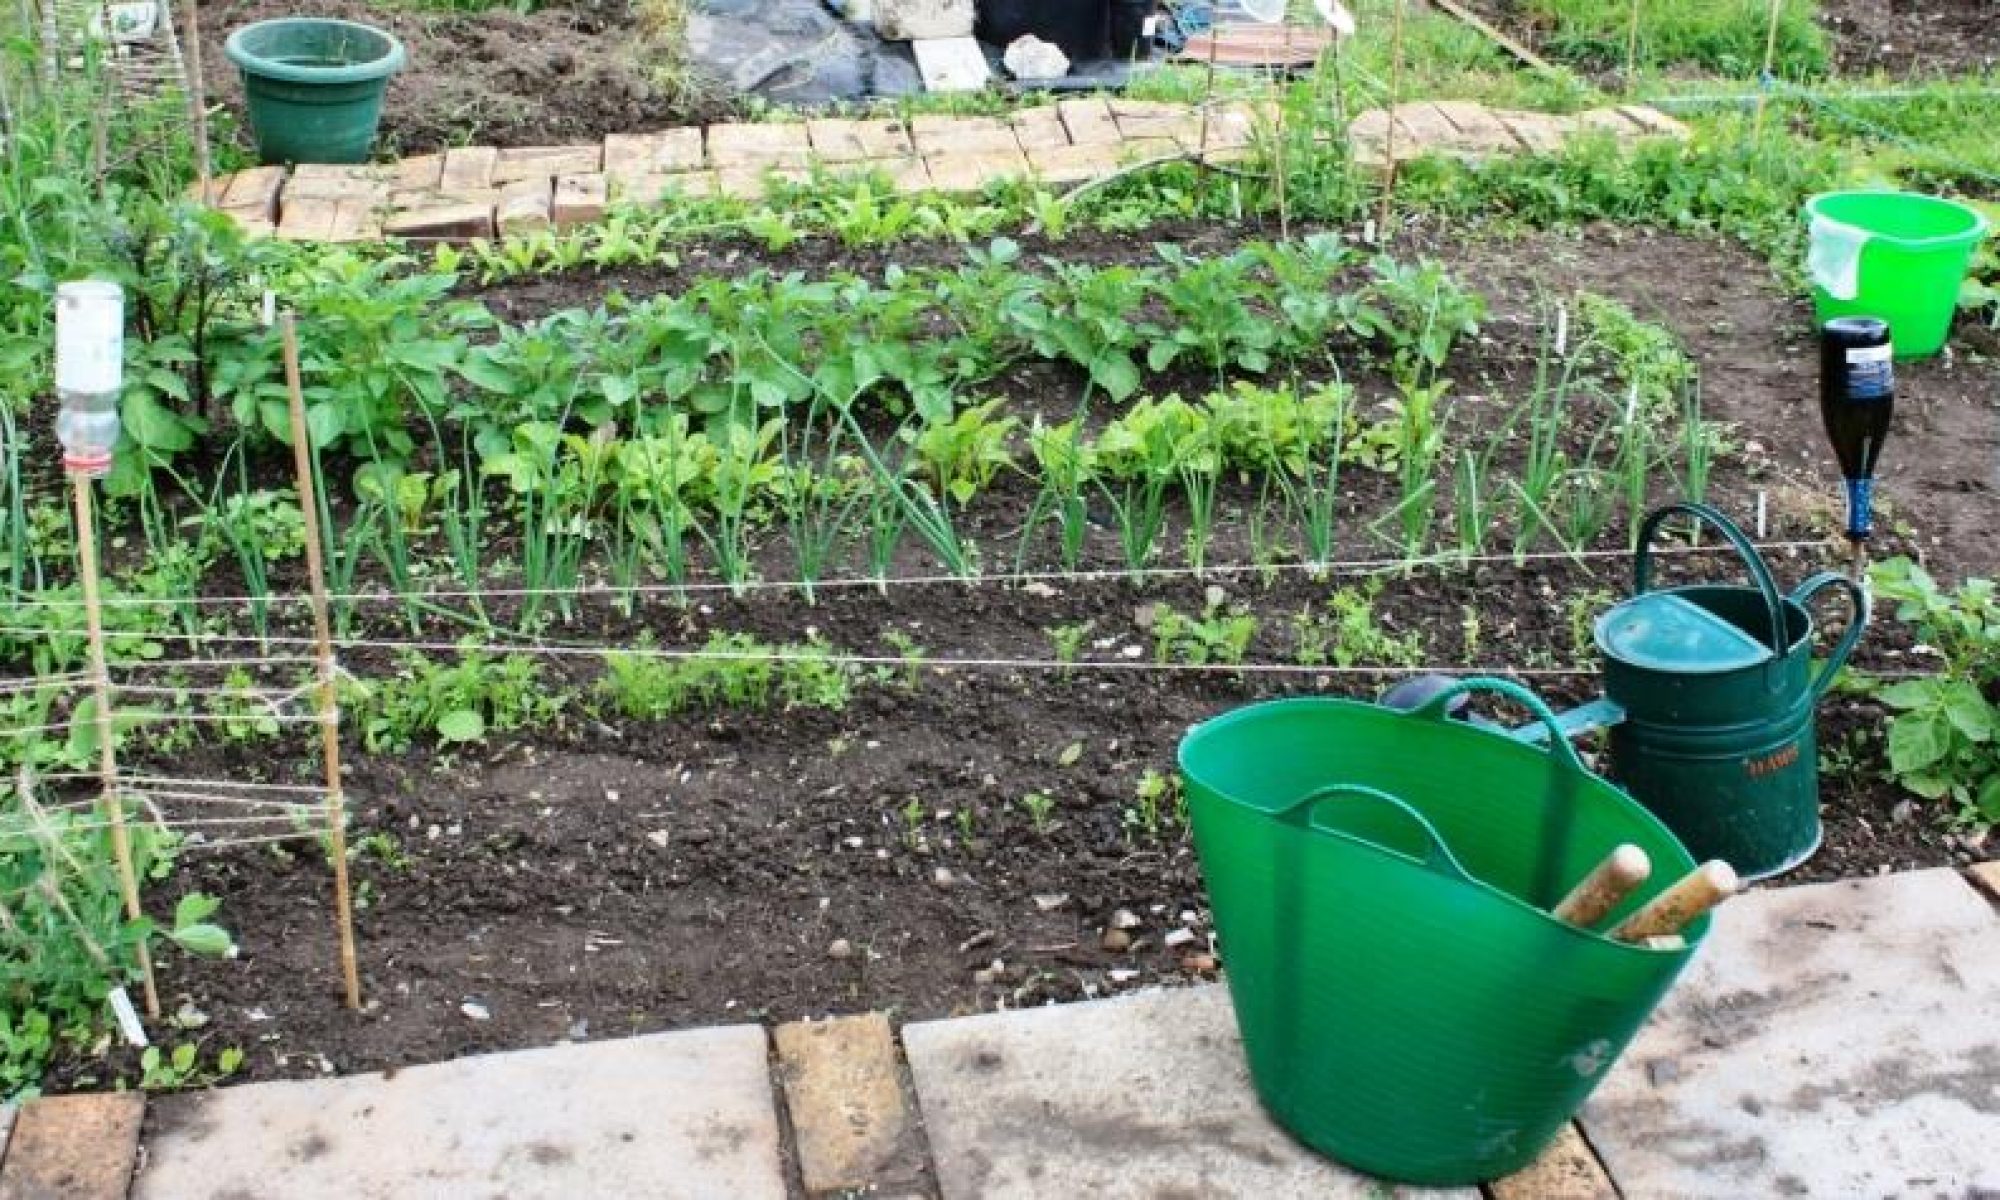
Sowing Sweet Peas

Everyone loves sweet peas don’t they? A quintessential British summer scent that wafts in the air as you pass their blooms, they also make great cut flowers to bring that scent into your home.

There are two schools of thought as regards sowing sweet peas; they can be sown in the autumn and overwintered thereby allowing you to plant out stronger and bigger plants in the spring, or they can be sown later in spring itself either in pots, or if you are really late you can direct sow them in the ground as late as April.

If you are sowing them in the autumn, the growing tip will need to be pinched out to encourage secondary growth and to stop the plants getting too leggy.

As I forgot to sow mine in the autumn and with my sowing fingers starting to get a little twitchy, I have sown mine in mid January this year. I have a selection of colours and varieties. I’m pretty sure I had some lovely red ones too somewhere, but can I find them?

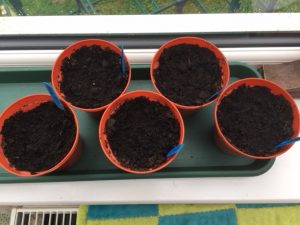
The seeds themselves are quite large and round and are easy to sow as a result. I filled some pots with compost the day before I needed them and brought them inside so the compost warmed up a bit. No one, not even a tiny seedling, wants to dip their toe or first shoot into cold compost!

Sweet pea seeds

I sow mine five seeds to a pot spread evenly over the surface, I then just push them in about a fingernail’s depth and then cover them. Water and place the pots somewhere fairly warm to help germination.

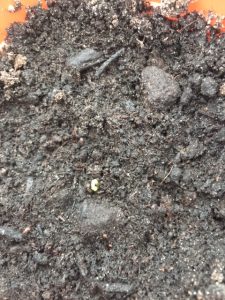
Hey presto! A week later the first seed has germinated!

Germination!

We’ll do an update in a month or two once the seedlings have got going a bit more.

The ‘No Dig’ Diary – January 2018

Members may or may not have heard of this method of growing veg which has been espoused by Charles Dowding.
Clothall Road tenant, Annie, tells us more about it as we follow her on her ‘no dig’ journey.

‘I joined the library just before Christmas – I wanted learn more about pruning. What I found, was a book on compost. I like making compost. It’s very satisfying on so many levels. Perhaps that’s another diary thread for another time……but the compost book contained a chapter about no-dig gardening. How could that fail to catch the eye? That would be the best gardening revolution ever!
Several hours with Mr. Google followed, plus the chance arrival of an assortment of cardboard, and a few hours of free time over the Crimbo Limbo period. Fate decreed this was definitely worth a try.

Rather than try and convert the sceptics with technical persuasion (that can appear in later episodes), I shall just explain what I’ve done so far. Suffice it to say, ‘no-dig’ seems to mimic natural processes and therefore cannot be ‘wrong’.

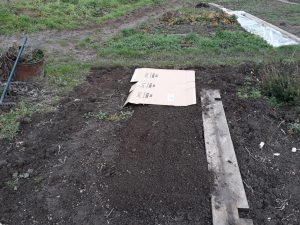
One benefit of no-dig is to reduce weeding and the first step towards this is ‘sheet mulching’. I raked over a patch of ground (you can take out deep-rooted weeds if you like but this isn’t essential). Then I spread cardboard over the area. You can wet the cardboard but the ground right now is probably wet enough! Newspaper can be used instead of cardboard.

Raked earth is covered with cardboard

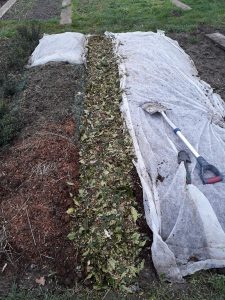
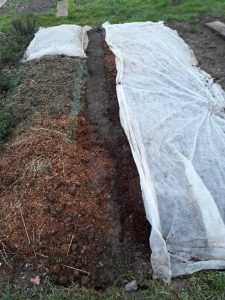
Then I covered the cardboard with a thick layer of compost (about 3 inches). I guess you could leave it at that, but in my garden the birds fling compost all over the place, so I covered the compost with whatever I could find – some bits of fleece, and old pea netting.

Cover the cardboard with mulch

You could use black plastic but that would also keep the rain off. Aims of this mulching are twofold,  firstly the mulch prevents light getting to weeds thus eventually killing them and secondly mulch gradually decomposes and is drawn down into the soil by worm activity.

Next time I shall explain ‘the path dilemma’ and hopefully tell what my solution will be.’

Allium Leaf Miner has Arrived!

Sadly, we have to report that allium leaf miner has reached deepest darkest Hertfordshire and has been spotted on both our sites here in Baldock. This pest first arrived in the UK back in 2002.  It has come from mainland Europe and was confined for quite a time  to southern and eastern counties but it has been gradually spreading since then.

And to make matters worse, allium leaf miner has two lifecycles each growing season and will attack all members of the allium family, particularly leeks and spring planted onions, shallots and garlic. There is no chemical protection available to allotment gardeners so the only thing that can be done is to cover crops with Enviromesh, and hope!

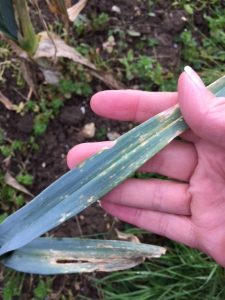
The adult flies appear in March or April, having overwintered in the soil. The females will feed on the leaves of your alliums before laying her eggs, usually near the base of the leaves of the plant. This can be spotted if you see lines of white dots on the leaves of your alliums.

Leaf Miner leaf damage

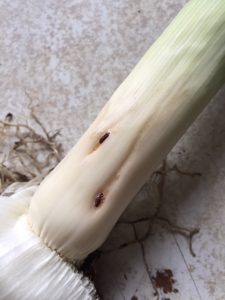
The eggs hatch and the resulting larvae, which are tiny white, head and legless maggots, feed on the leaves before tunnelling (hence the name leaf miner) into the leaves. At this point, fully fed, the maggots pupate within the stem of the plant.

Leaf Miner pupae

This second generation will hatch in September/October and again lay eggs at the base of the plant. It is this generation that will do the most damage to the now mature onion and leek plants. It will also overwinter in the soil ready to hatch the following spring.

It should be noted that most plants affected will tend to rot from a secondary infection from fungi or bacteria that develop in the damaged stems in the plant. The damage this fly can do is such that there can be no sign of your alliums being affected until the rotting is noticed.

So what can we do to protect our crops?
First off, employ a strict crop rotation policy. Do not grow alliums in the same area of your plot the following year.
Secondly, if your alliums do become infected, it is best to dig up the infected plants and burn them. As the pupae can survive over the winter, do not leave any infected plant debris on the soil.
Cover alliums with horticultural fleece, particularly when the flies are active in the spring and again in the autumn.
Plant out young plants after the danger of the first wave has passed and lift before the second generation is active. Whilst this may help with onions, leeks are in the ground for a long time so will not be ready for lifting in early autumn so covering them may be our only defence.

There is plenty more information online.
The RHS website
The National Society {Link updated Jan 2021}
Garden Focused


What to Grow on your Plot in September

September is the month when you start to see bare patches on your allotment as you harvest and dig up this season’s plants. But worry not, there’s still things you can plant out during the autumn months and first up is autumn onion sets.

Onion sets are immature onions which have been lifted and dried to stop any further growth. You can buy several varieties from the members’ shop now. We have Radar, Shakespeare and Blood Red available.

Plant them out now and water well and they will then resume growing over the winter months. Autumn sets are hardy so no need to worry about protecting them from frosts etc.

The sets can either be planted direct into the ground, just push them in root end first so just the tops are showing approx. 4″ – 6″ apart.

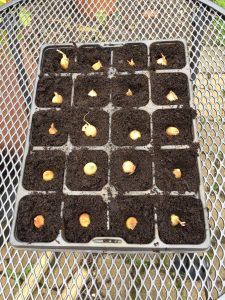
Or they can be started off in modules with compost and planted out once the top growth is a few inches high.

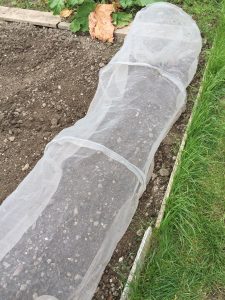
Either way, I like to protect mine from being pulled up by pigeons until they have established themselves by covering them with a mesh tunnel.

Autumn planted sets are usually ready for harvesting a short time before spring planted sets, so I find it’s a good way of spreading the harvesting season. Once harvested, onions store well. Just string them up and hang in a shed or bin store in my case.

Starting from Scratch – Onwards and Upwards!

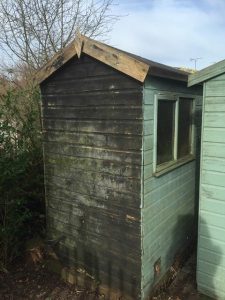
So, it’s been a few months since we last caught up with Yvonne and Steve on their new plot. When we last met them, they had just acquired a shed on FreeCycle.

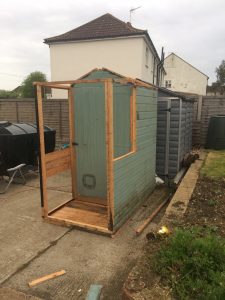
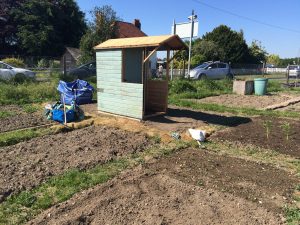
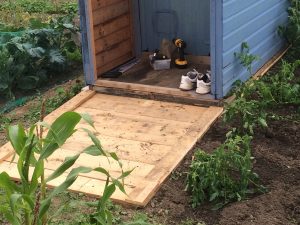
The shed was a 8ft x 6ft shed which Steve chopped down to make it 3ft x 4ft with a veranda! Steve and Yvonne assembled the shed in their garden before transporting it to their plot on a roof rack.

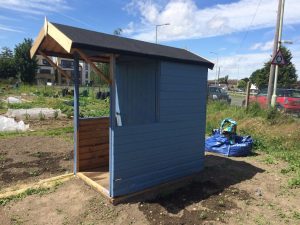
New felt on the roof and a lick of paint and it was good to go!

A recent addition has been a decking area at the front made from a free pallet.

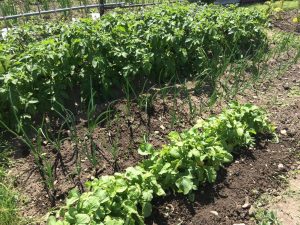
In the meantime, their plot has continued to fill up with crops.

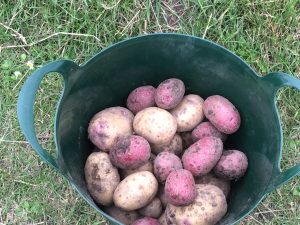
And they have enjoyed a good harvest

And now as autumn approaches, it all starts again with clearing ground and planting autumn onion sets and garlic.
Yvonne and Steve have done amazingly well in such a short space of time on their plot. Long may it continue!

What’s in Season – Courgettes

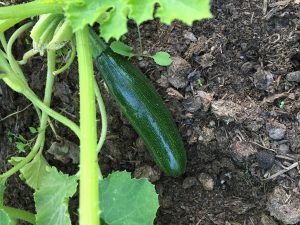
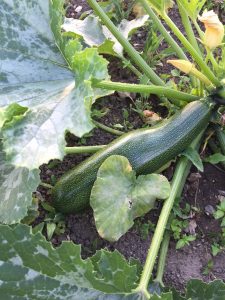
Ah….courgettes! One of the vegetables most allotment folk grow and look forward to harvesting……until the glut kicks in!

As a veg grower, it is always best to sow at least a few seeds when growing a crop but courgette seeds are usually good germinators. Sow them individually in small pots for best results. However, whilst you may have sown half a dozen seeds which become seedlings and then healthy plants, once you’ve planted them out the realisation hits you that you may just have grown a few too many plants. Once they start cropping, the courgettes keep coming! And whoa betide the allotment tenant who misses a few and finds they have now grown a couple of marrows!

Marrow….incoming!

Joking aside though, courgettes are actually quite a versatile crop. Google ‘courgettes recipes’ and you are inundated with a wide variety of suggestions from cakes, gratins and currently en vogue, spiralizing them!

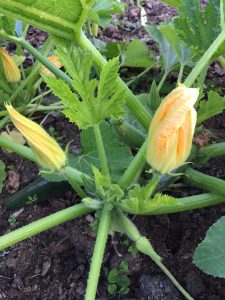
And talking of versatility, don’t forget courgette flowers are also edible and quite a delicacy; deep fried in batter being a popular recipe. Pick them just as they are opening.

Courgette flowers

Once established, the plants throw up both male and female flowers with the female flowers being easily recognisable because they have a small fruit behind them. The plants can take up a lot of space and need a lot of watering in hot weather but regular watering will ensure better quality fruit. Pick the fruit when they are young and thin, perhaps around 5″ long and always cut them from the plant with a knife; twisting and pulling them off will damage the plant.

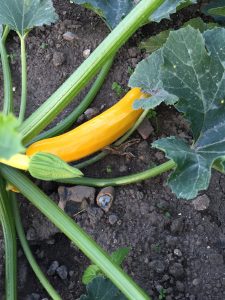
One of the best things about growing courgettes, is the varieties available including yellow ones. There are quite a few heritage varieties out there too.

My only courgette regret this year……not growing any. I actually feel a bit left out that I’m not suffering from a courgette glut!

Starting from Scratch – A Year in the Life of a New Plot

In this series of articles we follow Yvonne and Steve during their first year as allotmenteers showing you what can be achieved with a bit of effort and hard graft.

New tenants, Yvonne and Steve took on their plot in mid April 2017. They had no previous allotment experience other than going to their father’s allotment with him when little. They chose a half plot on the Clothall Road site. The plot hadn’t been worked for many years, although a recent tenant had dug out outlines of beds.

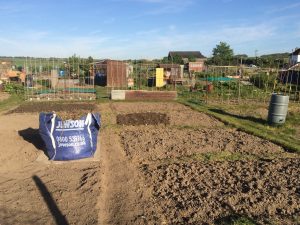
The new plot!

The plot had been strimmed in readiness for letting by site rep, Martin Luker, but some weeds still remained.

Keen to get started, they made good progress very quickly and had dug over several beds within a couple of weeks.

First four beds dug

A quick visit to the members’ shop and they were able to plant seed potatoes and onion sets and start some seeds off at home.

A week or so later and more beds were dug and a base laid for the shed, both of which were picked up for free after searching online.

Within a month, amazingly they had dug over the whole plot.

Initial digging over complete!

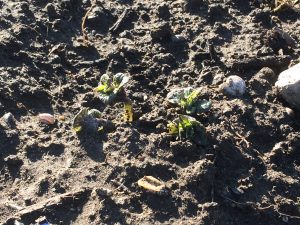
And were excited to see the first signs of growth as their seed potatoes made an appearance.

First signs of life

Yvonne and Steve have worked really hard over the month to get the initial digging completed. They have also followed sage advice and planted a little too so they can see signs of growth; a reward for all their hard work.

In the next instalment we’ll see what plans Steve has for the shed!

To Chit or Not to Chit?

Traditionally, seed potatoes are always chitted before being planted out but more recently, growers have queried whether this is necessary.

Seed potatoes chitting on a window sill

Chitting encourages the eyes on seed potatoes to start sprouting, thus giving them a head start for when they are planted out. Placing the tubers in a frost free place with plenty of light such as a window sill will cause the eyes to start sprouting. Each tuber has a more rounded, blunt end where most of the eyes are to be found. Place your tubers upright in a seed tray, or even an egg box, and wait for nature to work its magic. Within a matter of weeks, you can see the eyes sprouting. Once the tuber has two or three good-sized chits about ½” long, it can be planted out providing the ground is frost-free. Rub off any extra chits so that the growth is concentrated on those chits. If there is a danger of frost, ensure any growth is earthed up and covered to protect it. 

Healthy growth on a Rocket seed potato

First early potatoes particularly benefit from being chitted so they can be lifted within 10 to 12 weeks of being planted out, usually in June or July. There is some argument as to whether main crop seed potatoes benefit as they have a longer growing season. Potatoes will sprout and grow whether they are chitted or not. There is a theory though that chitting seed potatoes will increase the yield from each tuber by directing the plant’s energy into two or three shoots. Equally important, however, is preparation of the ground by adding plenty of well rotted manure, blood fish and bone or even chicken pellets.

 For most vegetable gardeners, it’s that eagerness to get the growing season started, that means they will chit their seed potatoes.